Setting opals can be tricky, especially when you’re used to setting gemstones with different hardness-opals being the softest. But there are some great tricks out their for preventing damage to your opals when setting as well as repairing unfortunate mistakes when they do happen. Below I’ve detailed my Opal jewellery making tips that I’ve picked up along the way.
Opal Jewellery Making Tips
Tip 1
Apply a layer of masking or alligator/fabric tape to the face of your opal to protect is from any nicks or scratches when using your plyers or bezel/prong pushers.
Tip 2
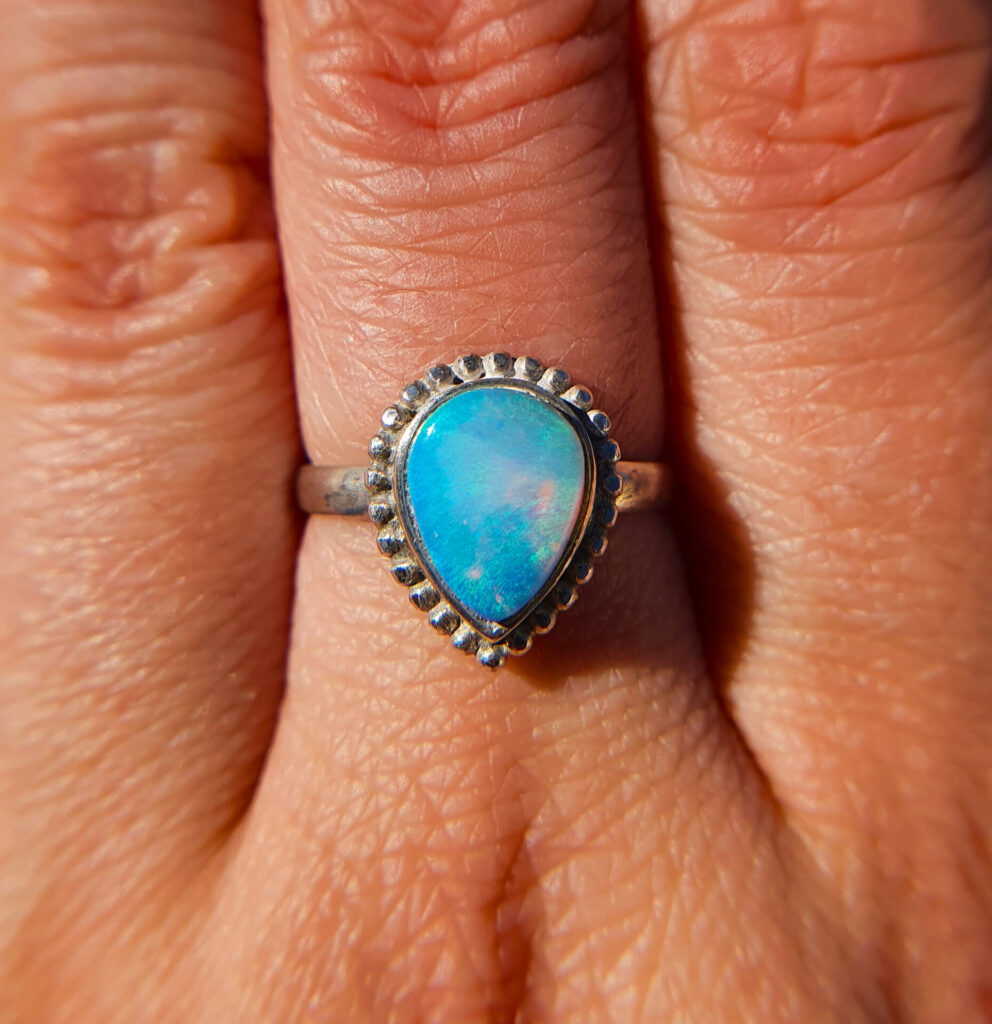
Place a piece of floss beneath your opal when bezel setting, so that if you need to remove or reposition the opal for any reason, you can without damaging it or becoming stuck by simply pulling both ends of the floss.
Tip 3
Place your finger over the opal when you bezel pushing so that any slips of the tool will hit your finger as opposed to smashing the opal-artists really do suffer for their art.
Tip 4
To get a tight fit bezel-which will mean you don’t have to try so hard to close the gap between the opal and the bezel edge, calculate the circumference of your opal to get a precise measurement for the bezel wire.
A great video on it can be seen at: https://www.youtube.com/watch?v=xJJAz5DmVNw
Tip 5
If your opal is too big for the setting, DO NOT FORCE IT unless you want it to crack. It might not crack then and there, but settings where there is too much tension or tightness can cause cracks as the slightest knock.
Tip 6
Settings with low prongs look sleek and when done properly will hold. However, it’s essential that you create a secure enough seat for the opal or the low prongs won’t be enough to keep it in place long term-I can’t tell you how many times I’ve had repair requests for rings where they opal has fallen out of a prong setting for this reason.
If you’re unsure if the seat is good enough, before filing or snipping your prongs, tighten them and give the opal a wiggle. If it’s moving, it’d be worth while to leave you prongs a little longer over the face of the opal to secure it in place.
Tip 7
If you feel like there is a noticeable gap between the opal and the bezel edge but you don’t feel comfortable pushing it further, tape the opal’s face up right to the edge of the bezel and using a needle file gently file the edge-not to remove it but to thin the metal slightly-then grab your burnisher and smooth it down to finish. This should get the bezel edge right up to the face of the opal, creating a smooth finish.
Tip 8
This might be one of the most important jewellery making tips to follow, if your anxiety is getting the better of you; you feel like things have been going wrong and aren’t going the way you’d like them to, your sweating-then stop. You’ve been there for too long. Nothing good is going to happen if you keep going. Return tomorrow with fresh eyes.
Tip 9
On the unfortunate chance that despite all your efforts and following these great pearls of wisdom, you do happen to chip or scratch your opal, never fear. Using a drill bit or straight Dremel/mandrel attachment, wrap a piece of of 1200 grit wet and dry sandpaper around the attachment and secure it in your mandrel.
Keeping the opal wet with water through out, guide the sand paper (on a low-medium speed) over the scratch or chip until its smoothed out. Try not to keep the sand paper in one spot or it may create a pit or uneven surface in the face of the opal. Finish by polishing with cerium oxide to restore it to a finished look. If you’re happy to spend a bit of $$, I would highly recommend purchasing a 1200 grit nova point-these can be placed right into the mandrel (as opposed to the sand paper, but you still 100 1000% need to keep it wet) and then finish with the cerium oxide.
Tip 10
You’ve finished making a great piece of opal jewellery but it looks dull? Use Cerium oxide. the polish of the opal gods. This stuff transforms stones, truly, it does. The best think about it is you can use it for all of your metals as well. It’s a great all purpose, high finish (mirror finish) polish that I personally use for everything.
For more great and really engaging blogs ( ;P ) hit this link: https://www.goodopalco.com/blog-the-good-opal-co-blogs-on-opal/