If you’ve selected this blog, it’s because you have a genuine interest in opal cutting and want to hone your skills. Opal is mysterious and wonderful. I don’t think the uniqueness of opal is matched by many other things in this world and as such, understanding and cutting opal can be difficult even for experienced opal cutters at times.
When your first getting into Opal cutting, it can be very difficult and you can be making mistakes you’re not even aware of-trust me, I know- so the most important thing above all else is to start slow and Practice, Practice, Practice!
But the great thing about dipping your toes into opal is that a beginner Opal cutting set up is very budget-friendly and easily accessible from any hardware store. What you need to know before you begin: Opals are fragile and if your too rough, you can crack or chip your opal so don’t be rough and take your time. Opals have colour bars which are layers of colour that on a finished opal, sit on top of the opal’s surface with a potch base on the back.
Opal Cutting : before you begin
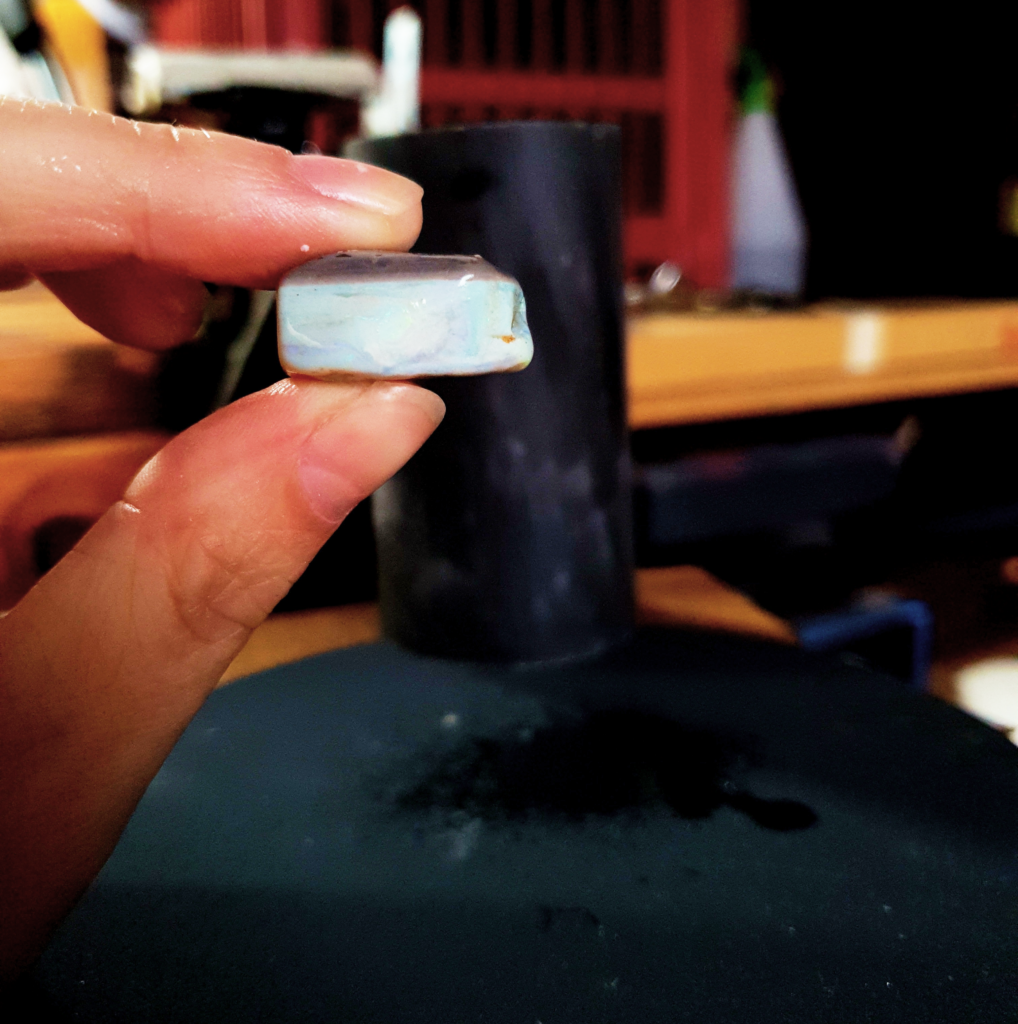
On the top of this opal there is a black layer of potch, the middle there are a few colour bars intersecting each other and depending On which bar is better will determine how the opal is cut. On the Bottom of the opal, there is a layer of sand.
Potch is colourless opal and has the same hardness as the colour bar, so practicing with potch first is always a great way to dipping your toes into opal cutting and getting a feel for how opal works.
The rules are a little different depending what type of opal you have, as not all opals have the same parent material, like boulder opal, Andamooka opal, mintabie opal, lightning ridge opal and the list goes on.
To understand more about opal structure, it is highly recommended that you read on different types of opal and how they are formed. Unfortunately, you’ll learn when you’re opal cutting not all opals are perfect, colour bars are sometimes messy like this one and hard to find or very thin or uneven, they have pesky sand inclusions, natural cracks, potch webbing and imperfections taking away from the beautiful colour of the opal and that is why your first step should be to read the rest of this blog!
Before doing anything else needs to be studying your opal.
Opal Cutting : Study your opal
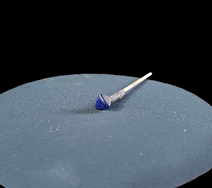
- Get a small torch and hold the opal to the light. This should help you to identify the colour bar and any imperfections in the stone as shown below.
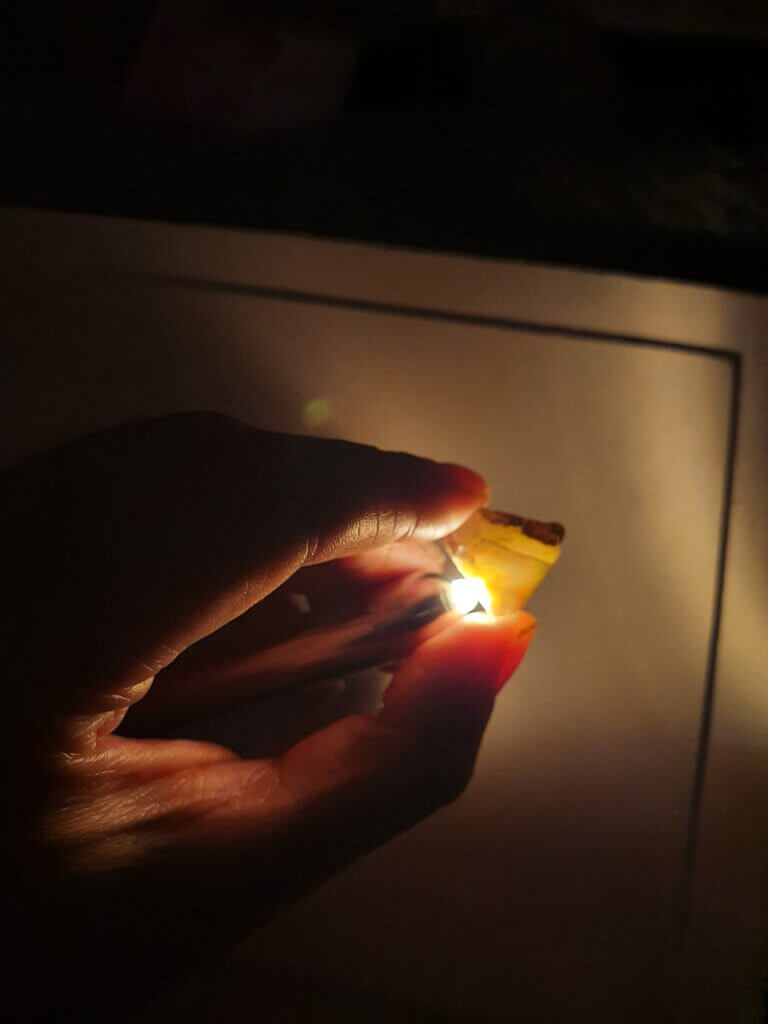
As seen in the image, whilst the piece is relatively clean and does not have and sand in the piece of potch interrupting the colour bar there is a line appearing in the opal which is most likely a crack. The crack doesn’t appear on the other side of the opal which tells me it may not go all the way through which is good because it means we can potentially save more carats.
After studying your opal and identifying the colour bar and any obstacles you may have to work around you will need the following equipment which you can get most of from http://www.bunning.com.au:
- Knife block OR 600 grit Sandpaper
- 1200 grit Sandpaper
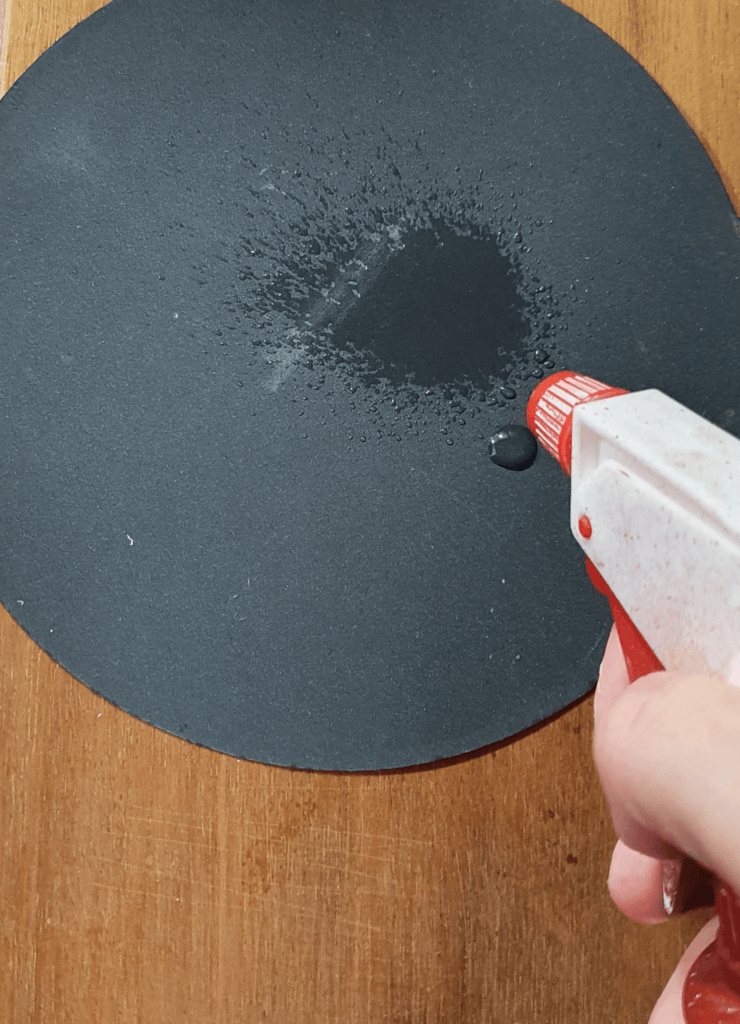
- Spray bottle filled with water
- Towel and a stable surface to work on.
- Optional: cerium oxide solution or powder
- Optional: Piece of leather or Dremel and polishing buff attachment
Opal Cutting: Steps
I highly recommend to you what a miner named Rob with 50 years of mining and opal cutting experience from lightning Ridge said to me. Start with Potch. It can be boring spending the time to hone your skills without the reward of colour, but it is well worth it.
- Place your knife block on a flat surface and wet the block with water. It’s important to remember through out the opal cutting process you will need to keep wetting your opal to keep the grit of the knife block and sandpaper slick, and to wash the opal so you can see what your doing.
If you can’t get a knife block, alternatively you can use 600 grit sandpaper on a flat surface but insure you buy multiple sheets of sandpaper as the grit will wear quickly.
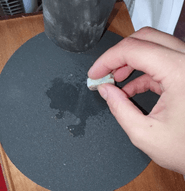
2. Start rubbing the edges of your opal to give you a better idea of the shape you have to work with that best displays the colour bar.
3. Once you have an approximate shape-if you can, begin with an oval shape as this is an easier starting point and it is very difficult to get a perfect circle without the use of a cutting wheel-You will need to determine which side of the opal will be your base.
The base of the opal is usually the side with the thickest potch or least problematic potch. So, then all the uneven potch can be sanding away to reveal the colour top.
If your opal has sandstone on one side and potch on the other, the potch side will automatically become you base as it provides body tone to the opal and sandstone is the parent material, we want to get rid of.
Depending on the size of the opal, you can alternatively choose to shape the opal on a dop stick rather than by hand.
4. You can begin to work the surface of the opal by getting rid of any unnecessary parent material, such as sand and rough potch.
5. To create a good base on your opal you need to leave enough thickness on the base whilst also getting rid of any rough uneven material. This comes down to personal preference as well as the way you want to shape your opal i.e. High dome, low dome, flat etc but as a general guide I would advise not to get rid or more than you have to that allows for a flat smooth surface.
6. Once the base is smooth you need to create a setting edge, which means rounding out all of the sharp edges on the base of your opal so that the back of your opal curves to the top of your opal as seen below.
7. Once your base is done you can focus your attention to the colour top. The most important opal cutting tip is to not rub the face of the opal flat on the surface of your knife block or sandpaper. Why? Because this creates a flat top which when your sanding by hand can be difficult to sand out. Instead you need to work your way from the outer edges of the opal to the top. You can choose to do the rest of these steps using a dop stick however, the choice is your and can be completed by hand.
- 8. Once you have the shape you want, switch to 1200 grit sandpaper to create a smooth surface on your opal and sand away any surface scratches there are. You going to want to put your sandpaper on top of a folded towel to create a soft surface to prevent you from pressing too hard and leaving impressions in the opals face.
9.The final stage is optional as Cerium oxide, a polishing solution which comes in liquid and powder form is only available online or from jewellery suppliers and depending on availability, may not be readily accessible.
10.If you have a small drill or Dremel this stage will be very fast as most Dremel kits come with polishing buffs. If you do, the stage will be as simple as dipping your polishing buff in the cerium oxide solution or spraying the buff with water and rolling it in cerium oxide powder and on a low setting hold you opal carefully and move around the opal.
If you’re having trouble or would like further advise, feel free to reach out or even share you creations. I’m always happy to help. We all gotta start somewhere.
If you’d like to purchase some beginners rough for your opal cutting adventure, contact me at https://www.goodopalco.com/contact/