In previous blogs we’ve helped our customers to learn how to cut opal without a cabbing machine. In this blog we are going to provide some important knowledge you should be aware of before you start cabbing opals.
Opal Formation
Of all gemstones, when opal was formed through cervices in the earth filled with silica rich water 100 million years ago, silica deposits were left behind. These deposits were spherical in nature, and it is their stacking— layer upon layer—that creates gaps between the spheres. When the light passes through the spheres and their gaps, it splits like a rainbow from a prism. The result is the stunning patterns and displays of colour we see in Opal.
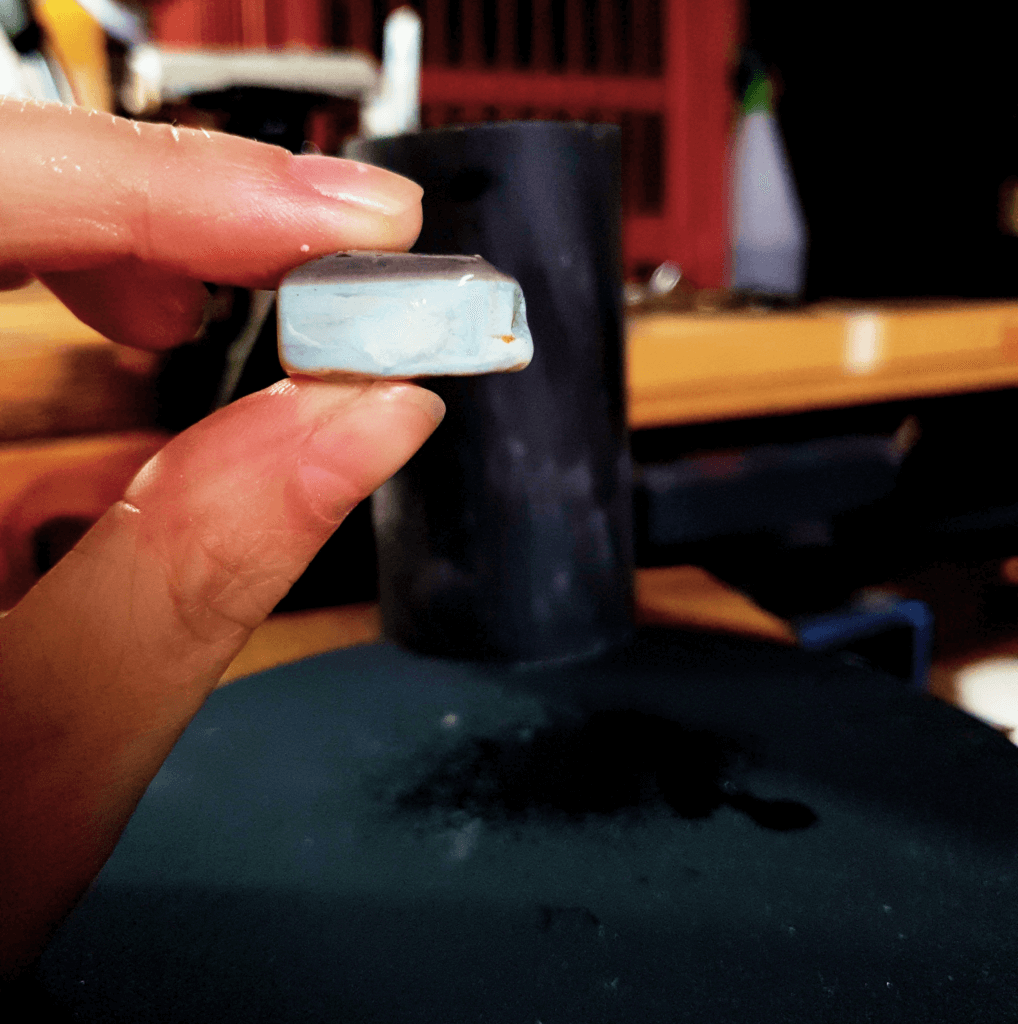
Rough opal often has three layers, potch, host rock (sandstone) and the colour bar. The aim of cutting opal is to remove as much as if not all the sand or host rock, use the potch to create a base for the opal and cut the opal in a shape which displays the colour bar in the best possible way.
Cabbing 101
The quickest and easiest way to cut opal is using a cabbing machine, the reason being is:
- The speed of the machine
- The size of the wheels covers more area compared to a hand tool like a dermal
- The accuracy of the cut is greater because you’re able to utilise both hands and the positioning of wheel does not change.
Learn How To Cut Opal The Right Way
Adjusting to a Cabbing machine can be tricky at first. But the most important thing to understand is how the wheels work and to take it slow and start small.
To operate a cabbing machine, you’ll need both hard wheels and soft wheels.
Hard wheels are diamond sintered wheels used to quickly get through the rough material, potch, and host rock around the opal. It’s important to take your time on the hard wheels. As tempting as it can be to fast on the hard wheels, a delicate hand is needed to ensure an even cut. Double checked with each touch of the wheel you aren’t cabbing away too much of the material. To navigate hard wheels, we highly recommend starting on higher grits if you are unsure, only using lower grits when you have a better feel for the wheel’s hardness.
Hard wheels are a great way to shape your opal, not just getting rid of the material you don’t want and that’s why it’s super important to go slow. The better and more precise that shape of the opal is from the hard wheels, it’ll come together even better on the soft wheels.
We highly suggest even going to the effort of putting your opal on a dipstick whilst working on hard wheels- this will prevent you from pressing the opal too far into the wheel.
Soft wheels differ from hard wheels in everything from the way they hard made to the way that they work. There are two varieties: Soft resin diamond wheels and soft flexible Wheels. Diamond Resin Wheels are manufactured with high-grade Resin and synthetic diamonds. Whereas soft flexible wheels are wheels where the diamond grit is embedded within a tough, flexible plastic resin and backed by soft, thick rubber. This soft, flexible construction enables the Wheel to conform to your stones, eliminating flat spots and scratches. Soft wheels are when you can start to apply a bit more pressure. Soft wheels are the second last but most important step in creating a polished opal.
To buy cabbing wheels in Australia visit: https://www.jewellerssupplies.com.au/category/780-cabbing-wheels-accessories
The most important thing to remember is that unless the opal your working is a freeform-a shape that is random and doesn’t conform to a regular structure like the picture on the right- it needs to be symmetrical and even.
The best approach to ensuring that is to do the following:
- When applying the opal to the dop stick, ensure that it is level. If the opal is on a slant to begin with, then all your hard work is going to be slightly off.
- Plan what shape you would like before you start cutting the opal.
- Draw the shape you would like on to the opal either free hand or with a stencil and follow the shape you’ve drawn as a cutting guide.
- Make sure your lighting is bright enough, you need to be able to see what you’re doing.
- Check the opal as you go.
- Read our blog: https://www.goodopalco.com/2020/09/21/opal-cutting-a-beginners-guide/ for a step by step cutting guide before moving on to cutting on a cabbing machine.